One question I get asked a lot by clients when our project wraps up is, “So how do I use all this stuff?”. Although I provide my clients with a ton of designed elements, inevitably they are going to need to create something new. For example, you might be an interior designer who wants to share your design principles from your blog to drive some traffic back to your site from Pinterest. Or a chef with a new recipe. Well, you can’t just type it out and slap it up there. You need to make sure you’re putting a consistent, cohesive brand story out there to attract clients who fit. How can you do this? It’s easy! All you need is Adobe Illustrator or Photoshop. I will use Illustrator for this tutorial. Sidenote: you can get any Adobe Creative Suite product as an affordable monthly subscription!
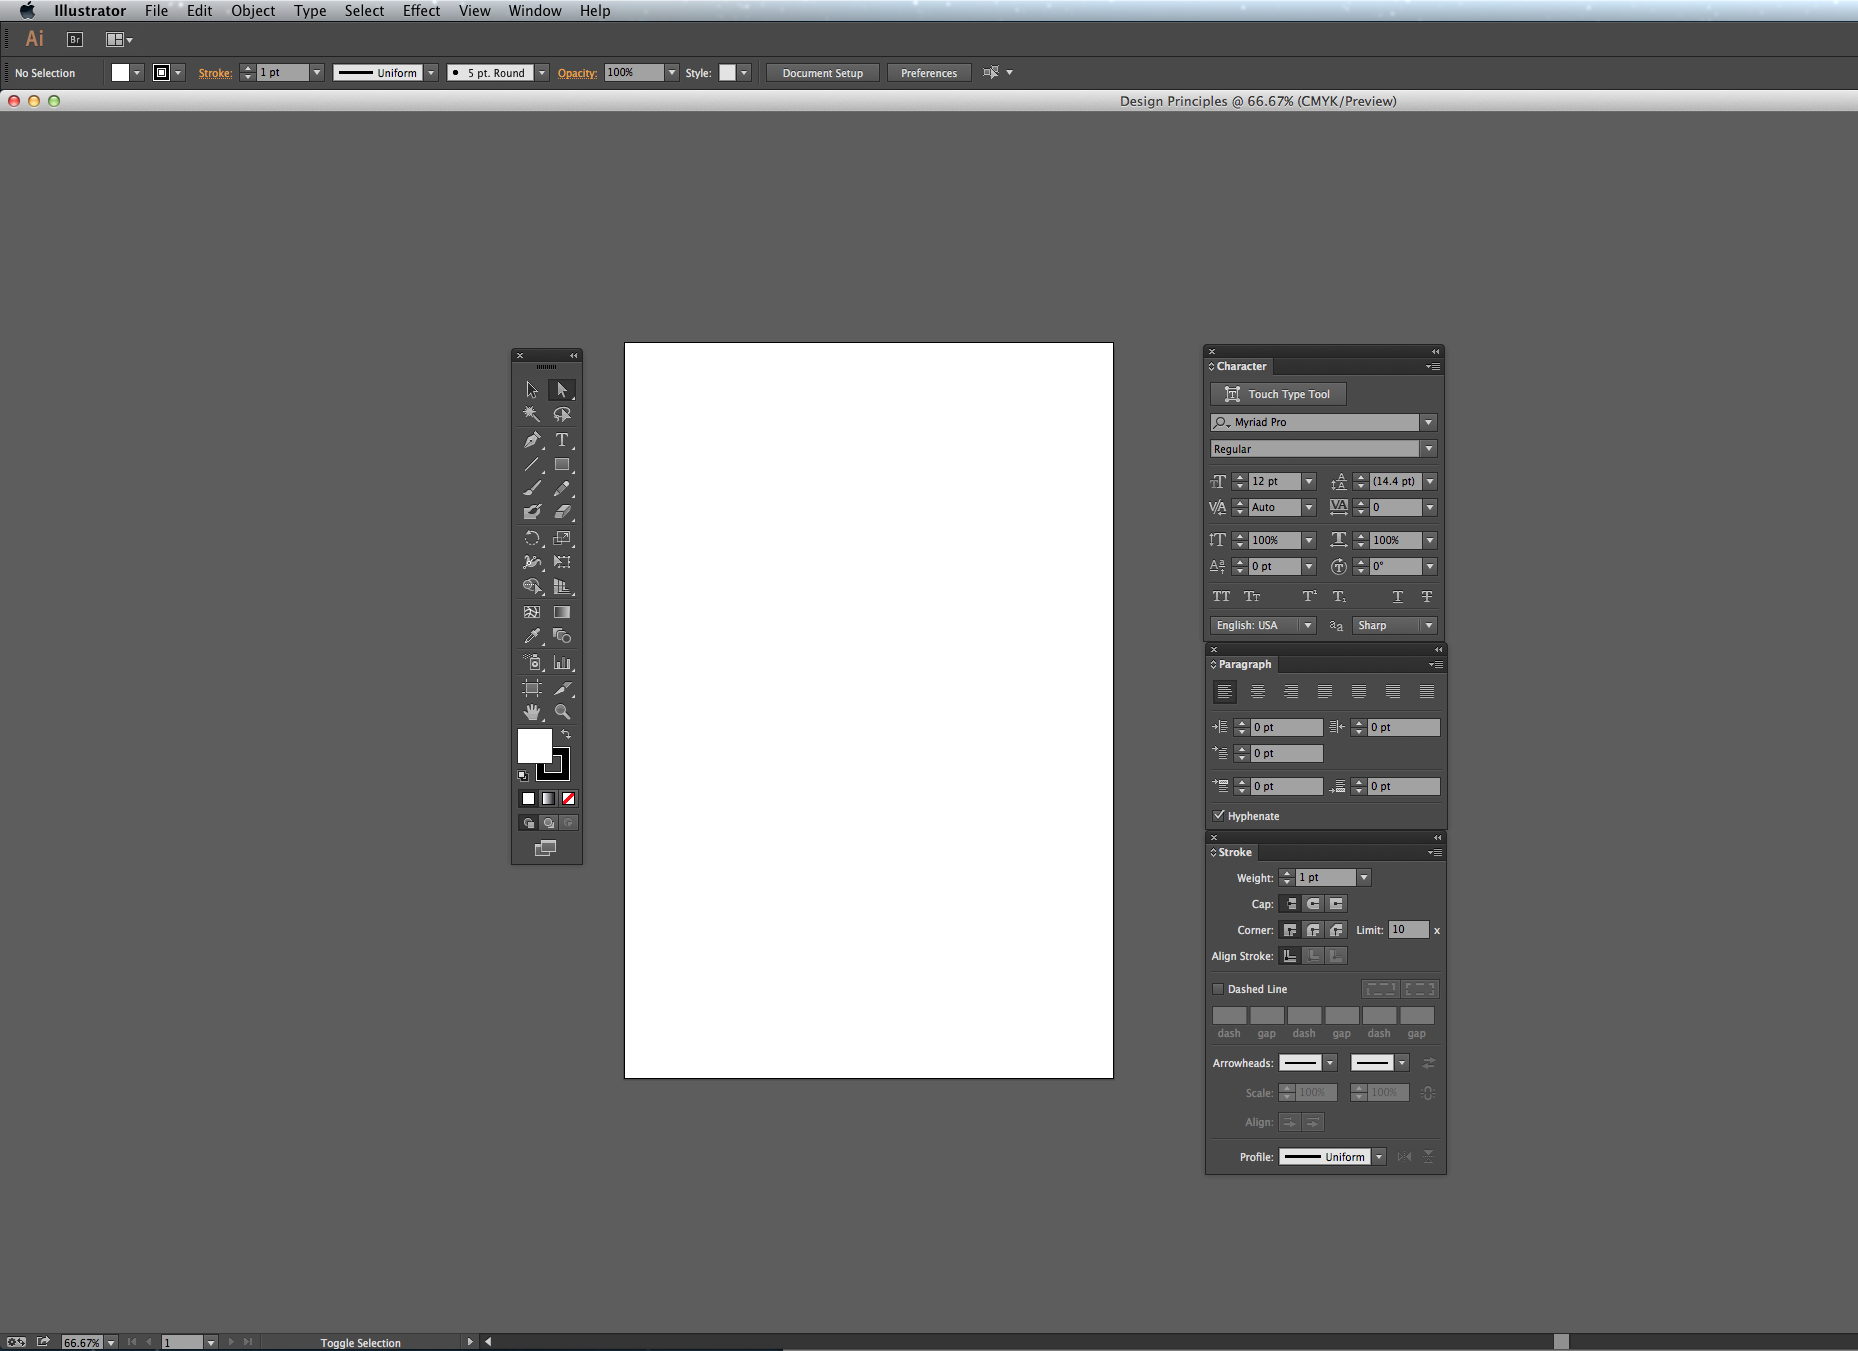
Step 1. Create the space.
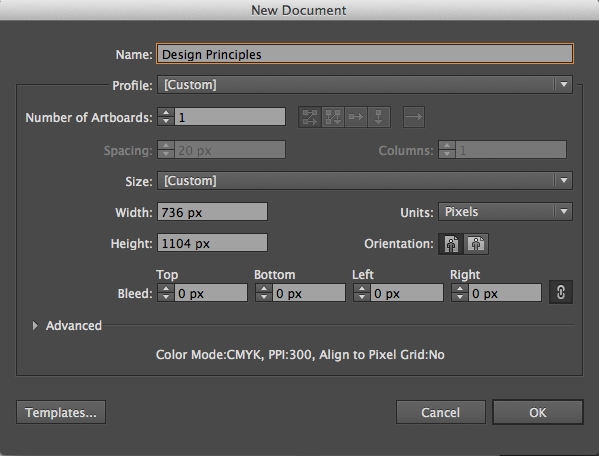
Create a document size that will work for Pinterest. It’s best to share pins that are vertical in the layout. For Pinterest, the recommended size is approximately 736 pixels wide x 1104 pixels high. Start with creating a new document with these dimensions.
Step 2. Imagery!
Pinterest is all about the visuals, right? Think about how you scroll through your feed and choose images to repin. What attracts you? Simple, bright, eye-catching images work best for grabbing attention and making your point. Today we are talking about creating an image with text (the design principle in our example). You want to make sure that the text is easy to ready, well designed and consistent with your brand typefaces. I like adding in an image as a background, but you might want to use a solid color.
Don’t have photography just yet? For image backgrounds, a great resource for FREE beautiful stock photography is Death To the Stock Photo and Unsplash. Both of these resources are my go-to’s when creating brand designs for clients who don’t have photography just yet. The images are beautifully composed, high quality and free for use across all mediums.
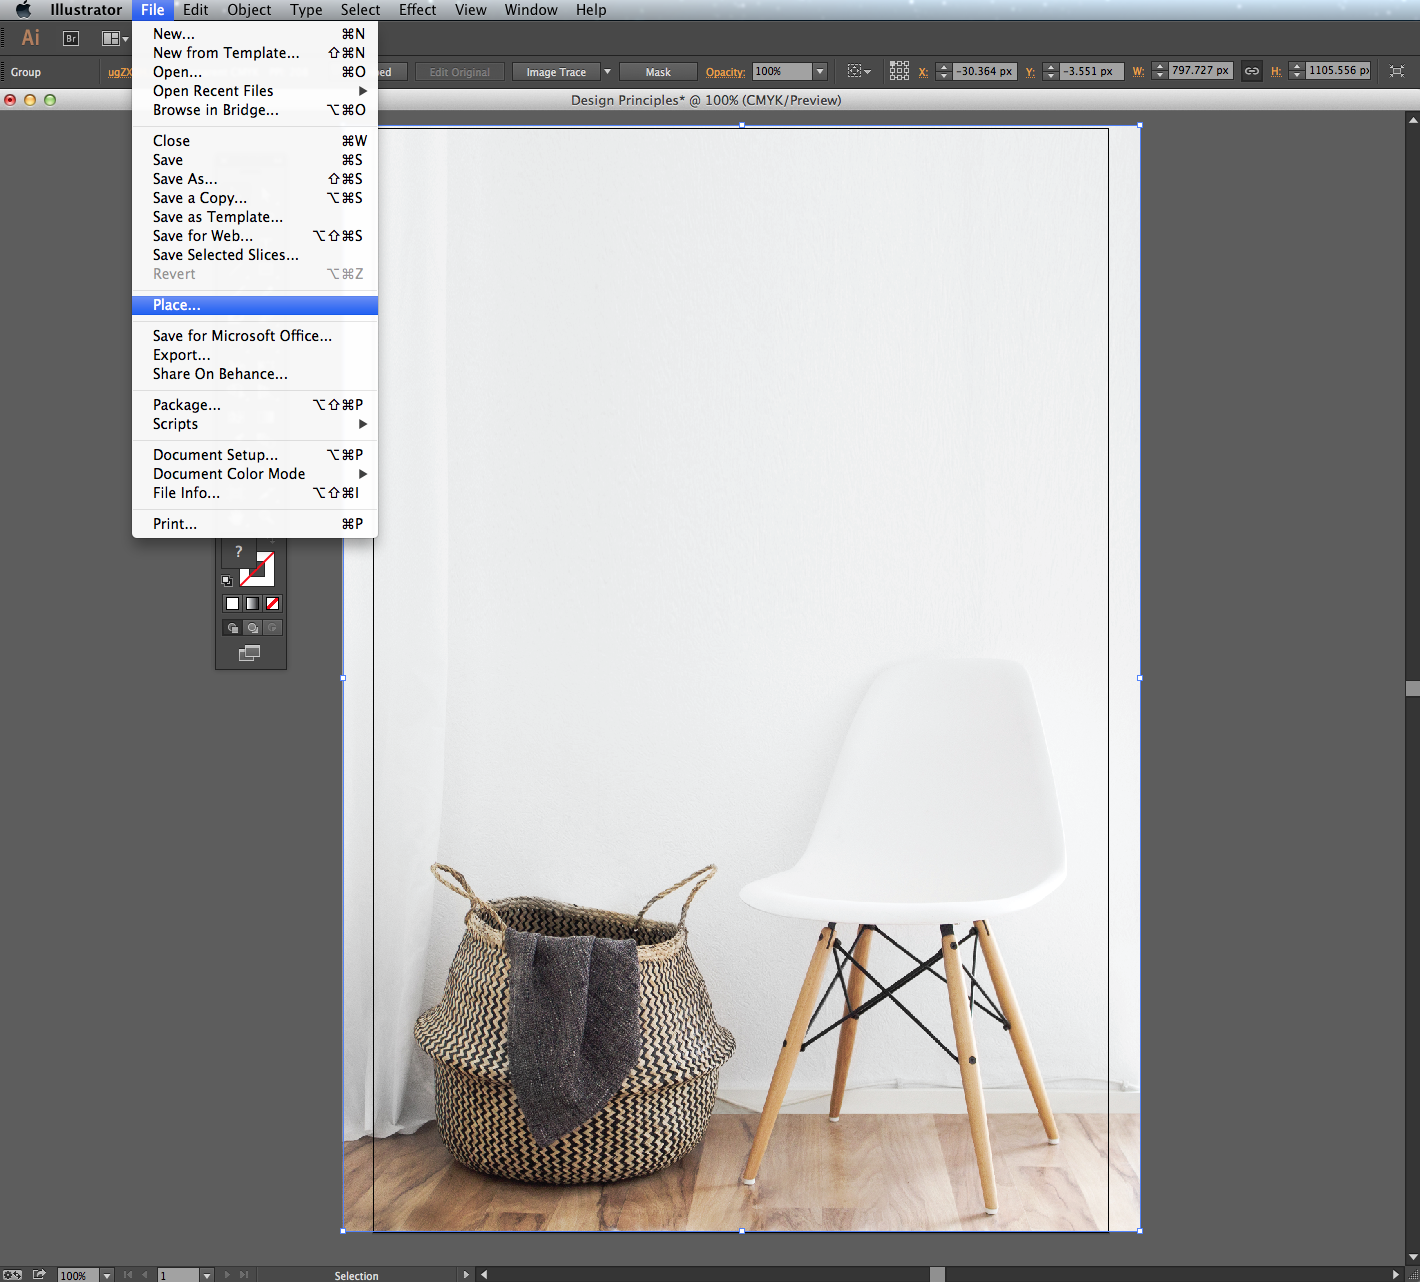
Choose an image for your background that isn’t too specific and is simple in subject. Think of it more in terms of color, texture, and concept. Don’t get too literal. Just because you are talking about design (or cooking, or painting, etc. ) doesn’t mean the image has to be a literal representation. Here I am going to create a shareable graphic about “Less is more”. I was able to find a minimal, clean image of a chair and basket on Unsplash. Download the image and place it into your Illustrator document by going to File > Place. Resize the image to fit your dimensions.
Step 3. Adding elements to make it your own.
Now that you have your image in the background, it’s time to make this baby yours. There are countless ways to do this, and you can get really creative with it. For this tutorial, we’ll start with the basics: shape, color, and text. Like I said – keep it simple!
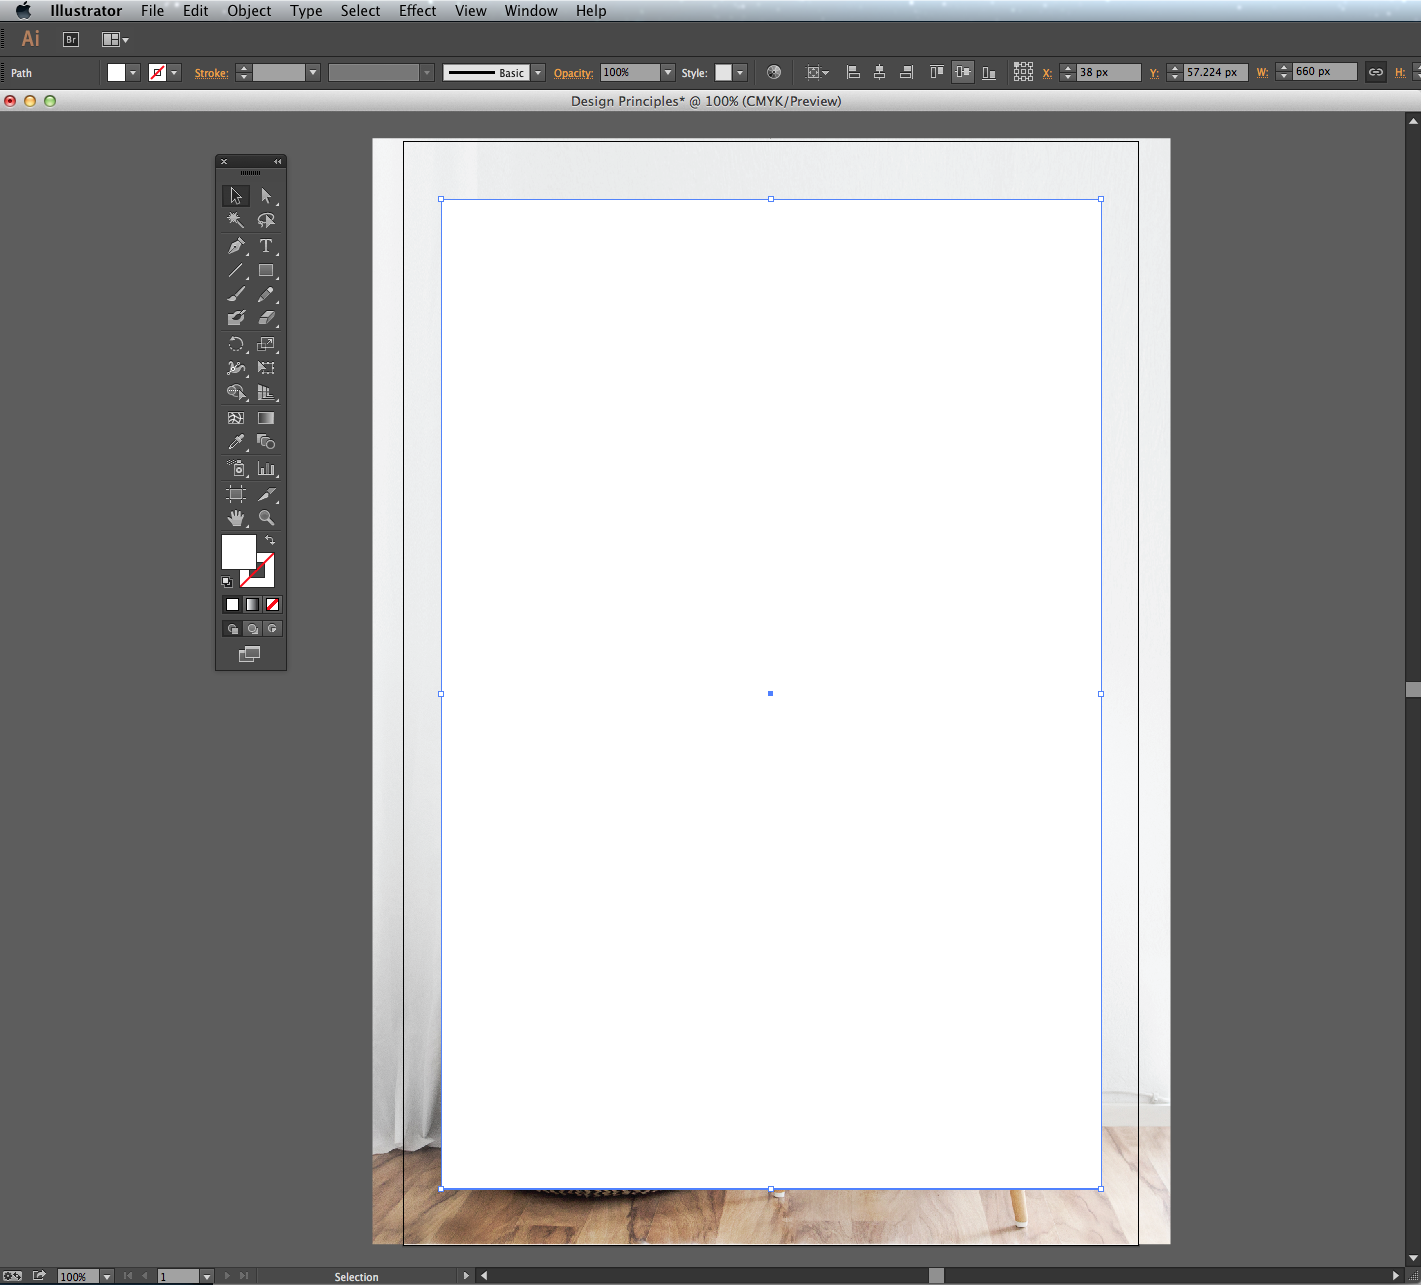
First, we’ll add an area of white space over the image to serve as a place for our message. Select the shape tool from the tool kit.
Next, drag your shape out to the s you want
Now you have a nice white rectangle sitting on top of your image. It’s important to make sure you align the rectangle with the artboard vertically and horizontally. This is super easy in Illustrator! Select the rectangle then look up to the top toolbar. In the drop down menu select ALIGN TO ARTBOARD.
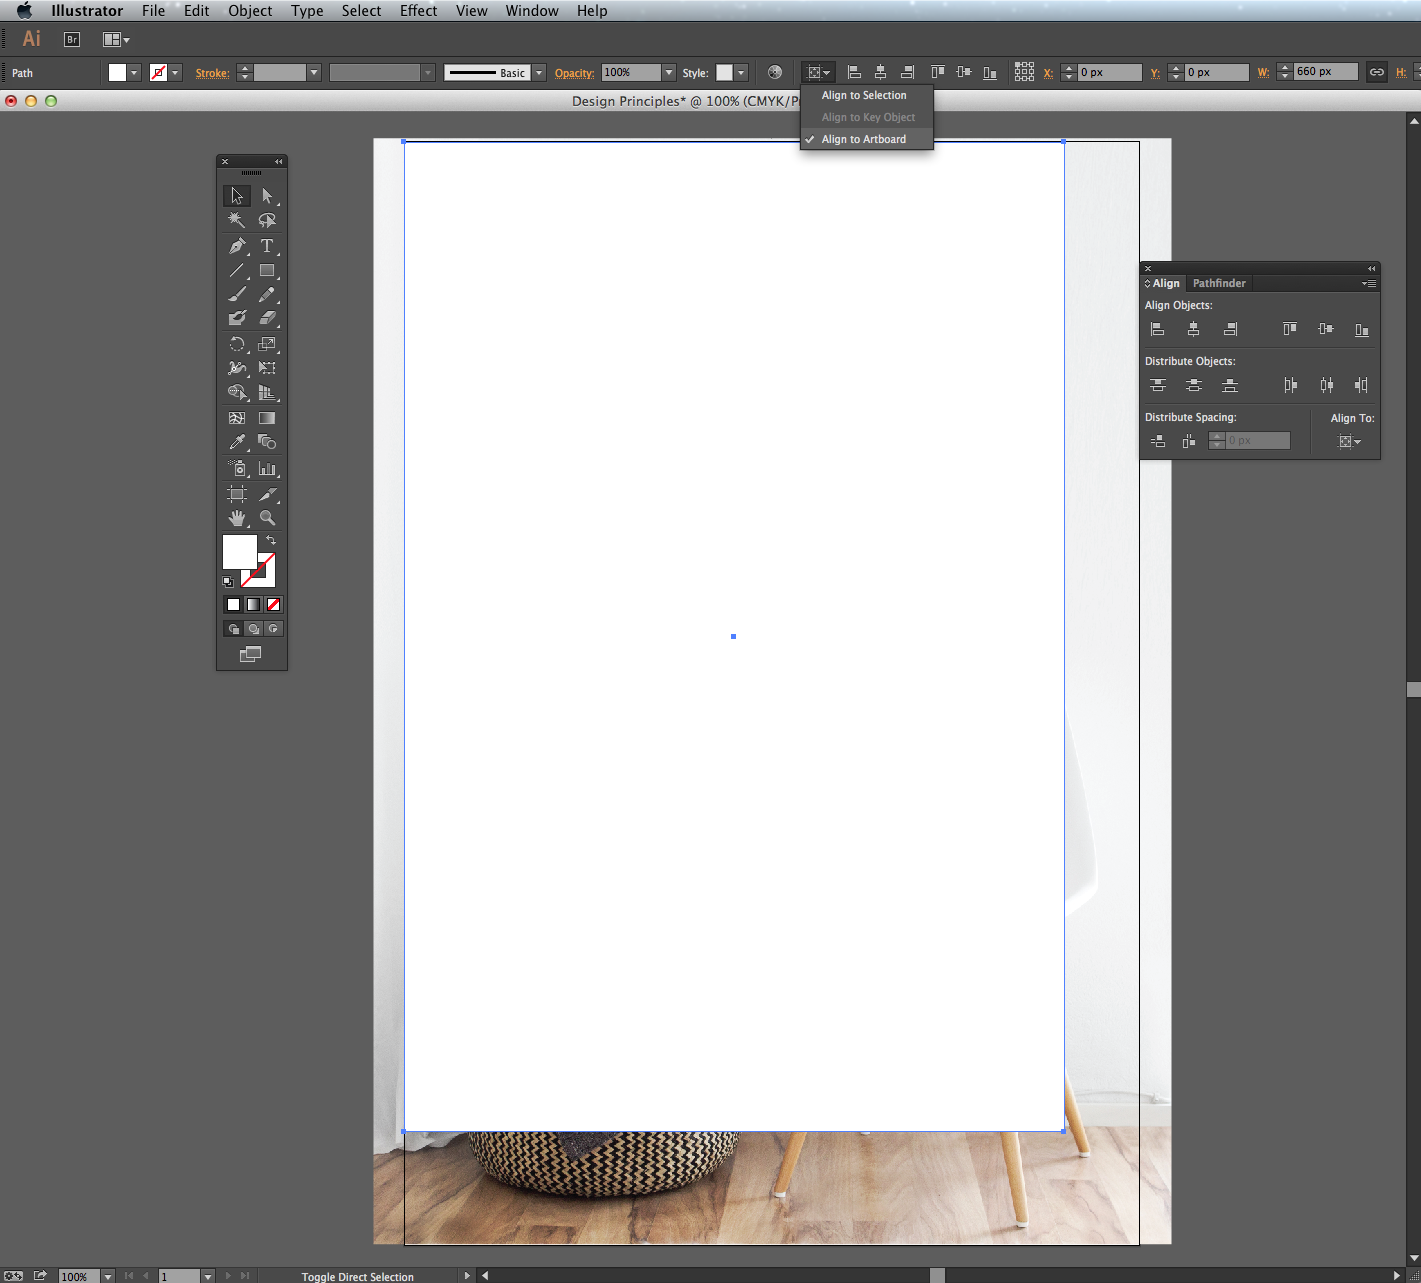
Click the vertical align button; then the horizontal align button on the tool bar to the right. This will automatically center your shape in the document. You can do this with any element!
Now your ready to add some text!
Step 4. Add your text.
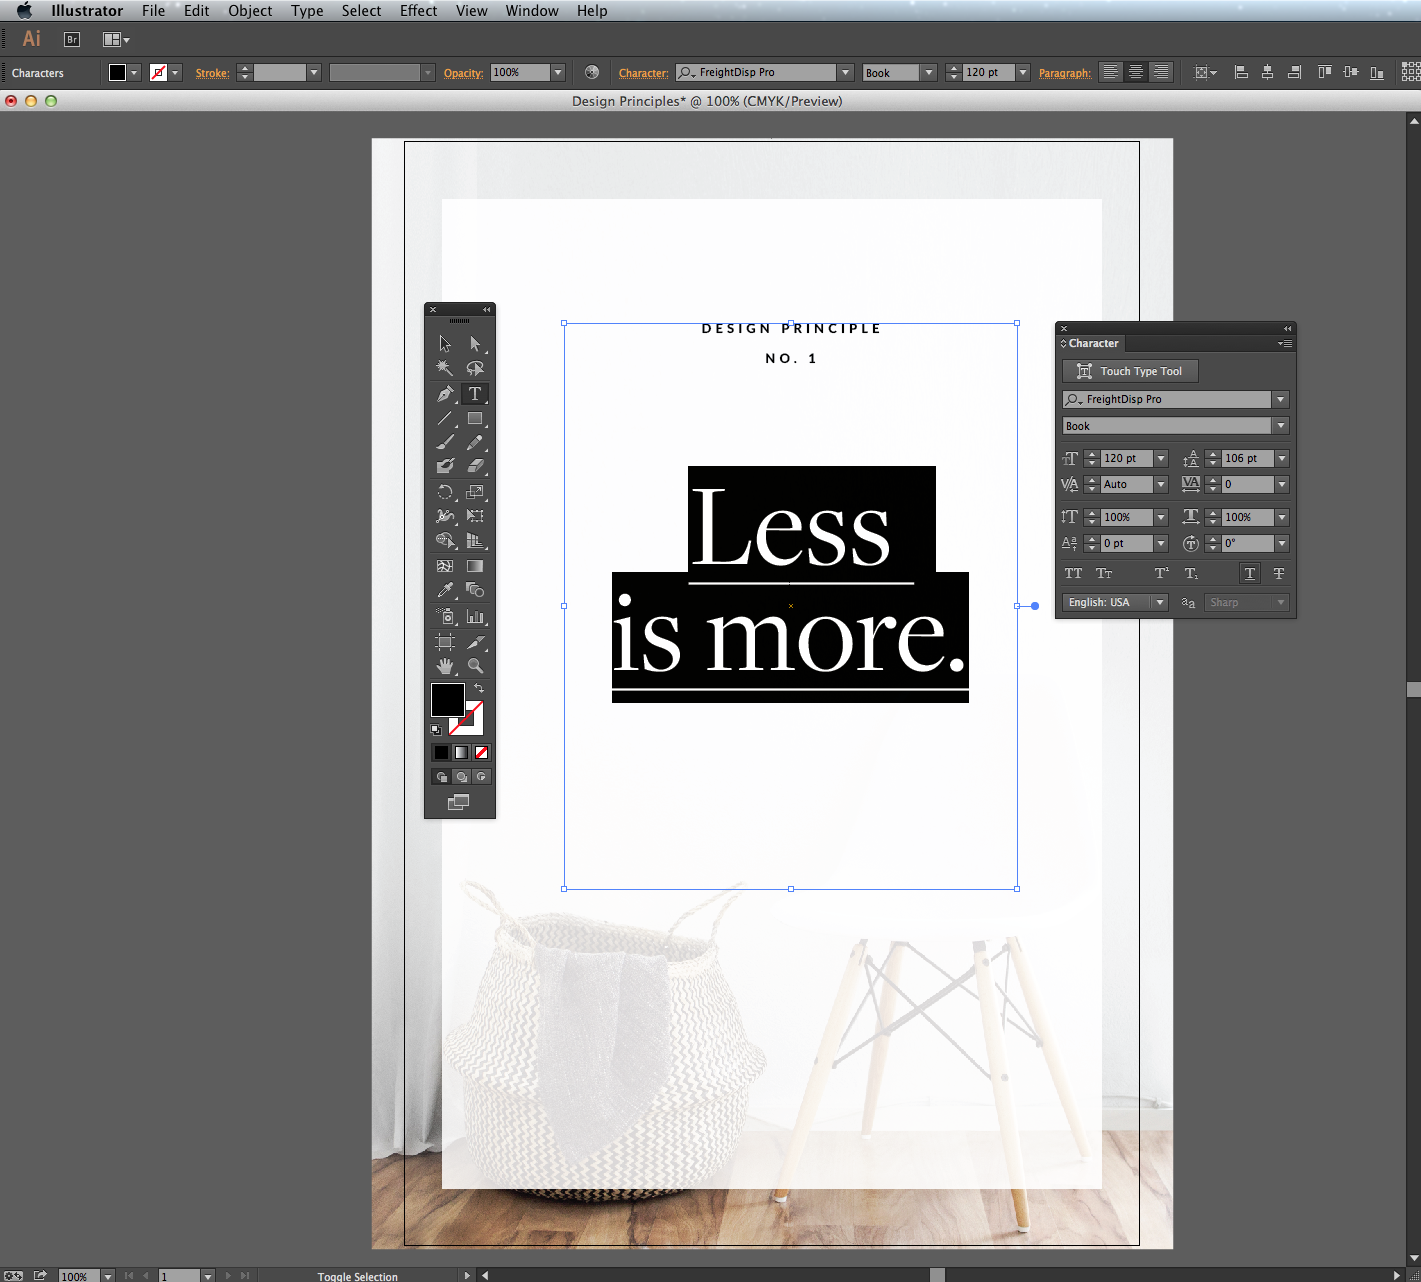
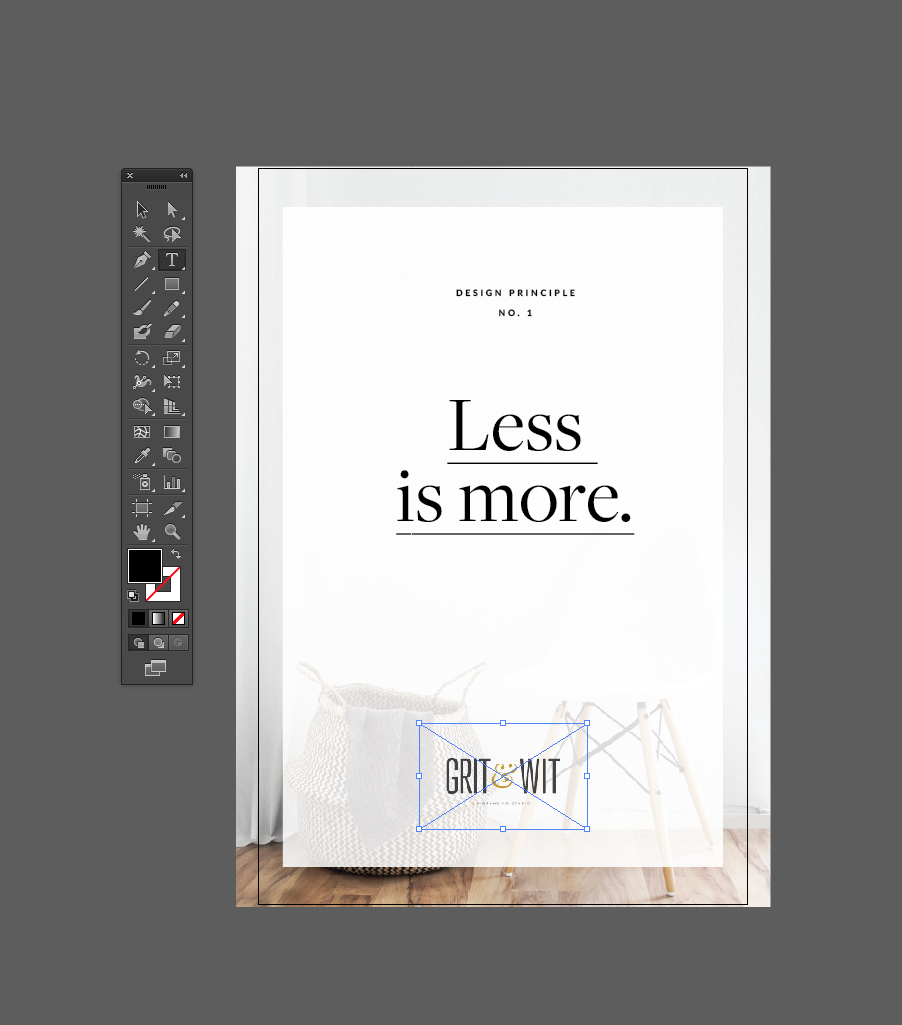
Using the text box tool from the tool bar, drag out an area for your text. Type your content into the box and select it. Now you can start getting fancy with it! Here, I’ve selected two different fonts to apply a hierarchy, and I’ve underlined my main message to give it a little more emphasis. You would want to make sure you are choosing fonts that are inline with your branding. I would recommend using no more than two typefaces.
Step 5. Add your logo
Using the same method as when we placed the image, place your logo (or copy and paste it) into the document. This is the easiest yet most important step to brand your image. Once it starts spreading via Pinterest, you’ll want it to be instantly recognizable as your business and brand. Do this for every one of your shareable images. I’m using my logo here, but let’s pretend this is for the interior designer in our example.
Step 6. Add some color!
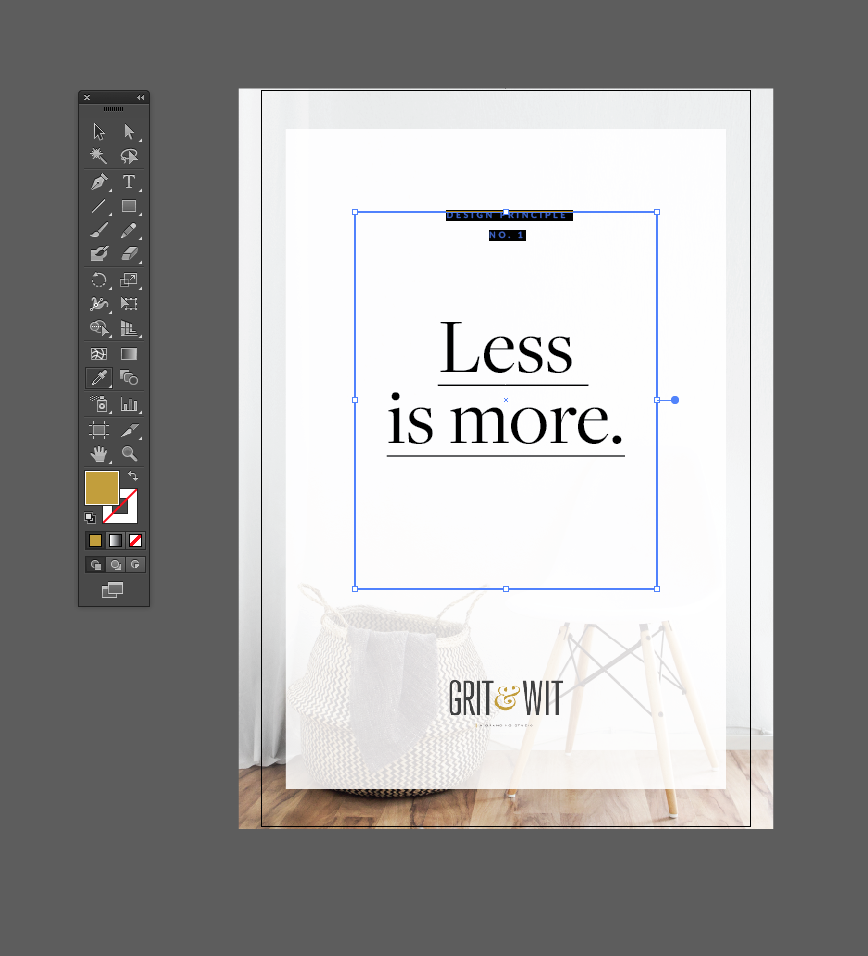
You can easily change the color of the text to your brand colors by using the eyedropper tool. Select the text you want to change. With the text selected, select the eyedropper tool. Hover over the color you want to use. This can be a logo color or a color from your image. I’m using the gold from my logo here.

Step 7. Now save for web!
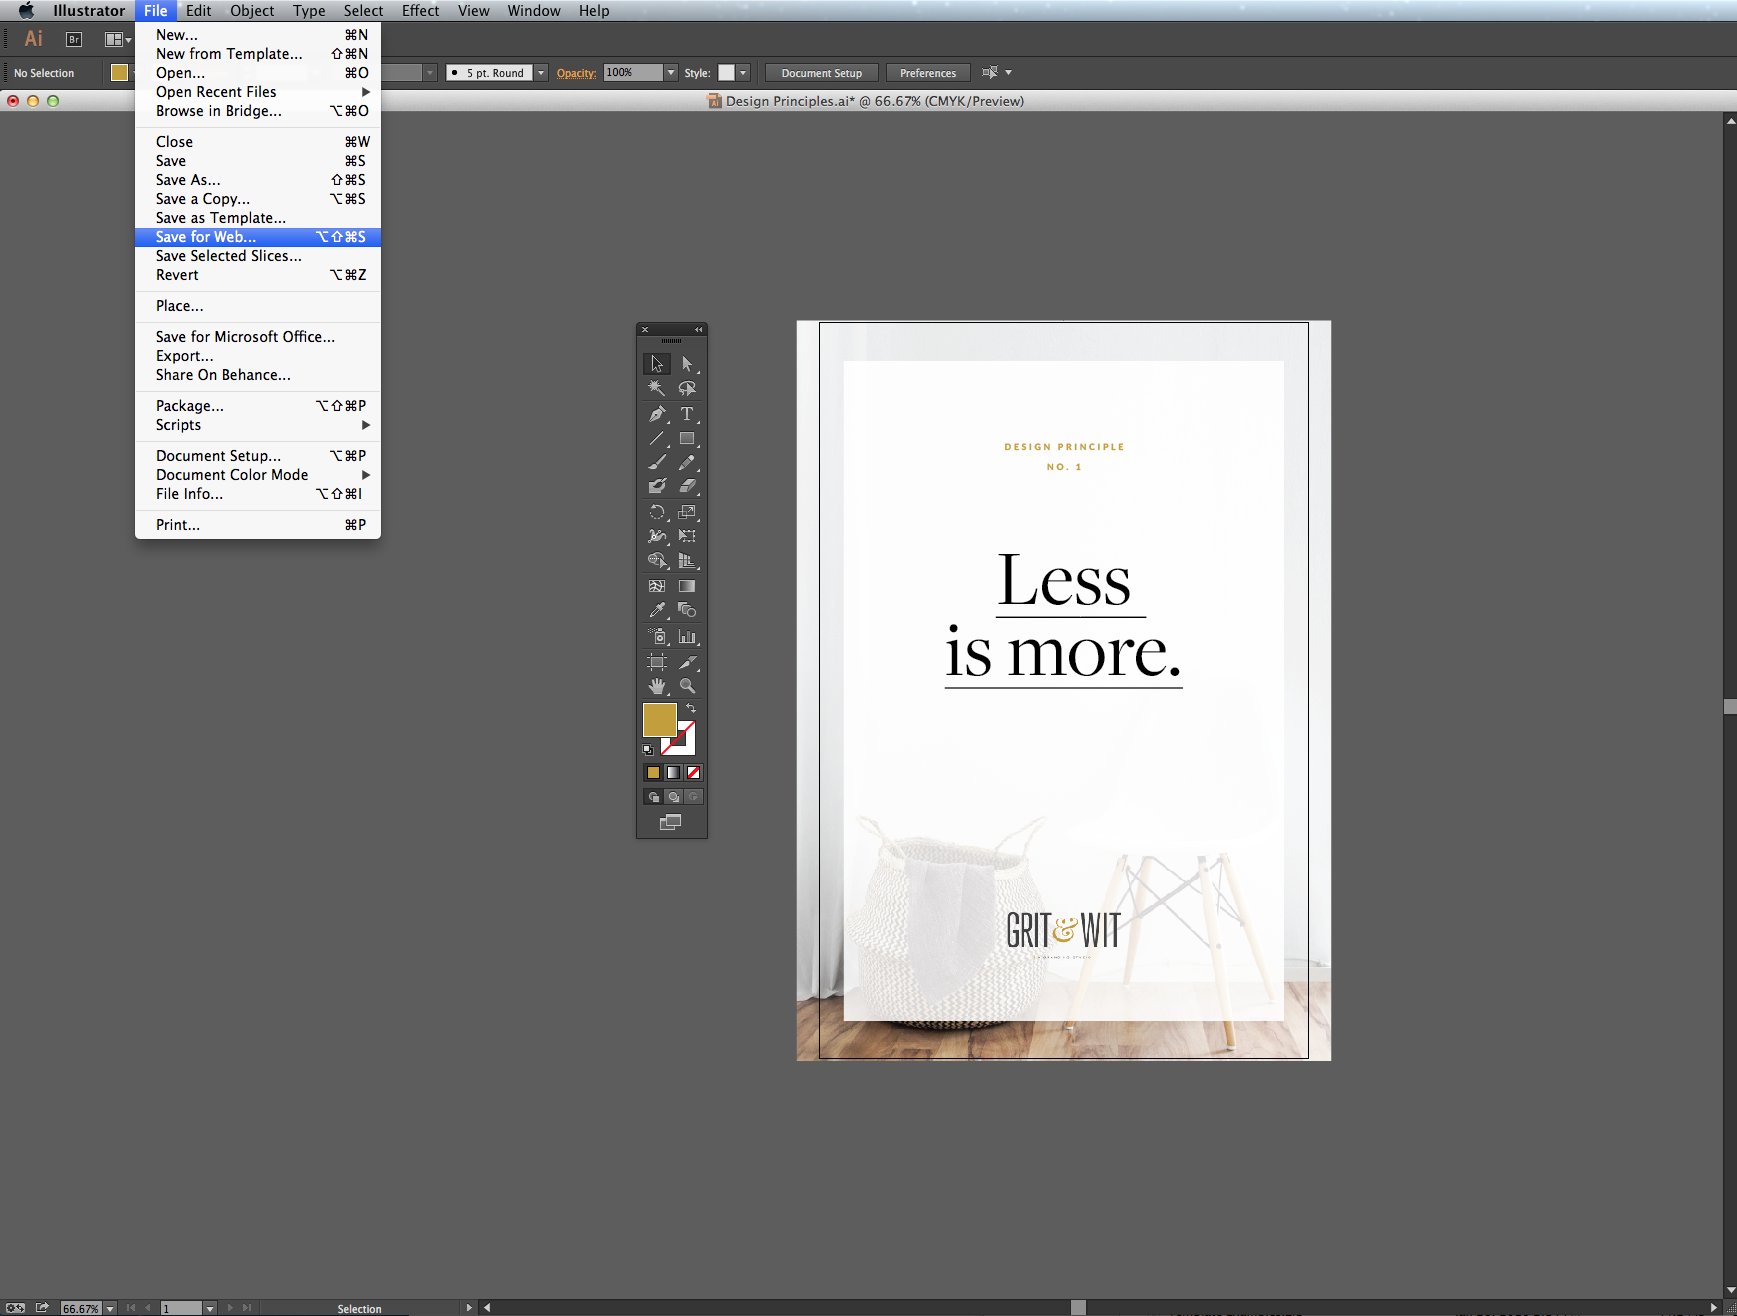
Making your sure image is optimized for the web is easy in any Adobe Creative Suite program. No image resizing or worrying about DPI! In Illustrator, all you have to do is go to File > Save for Web.
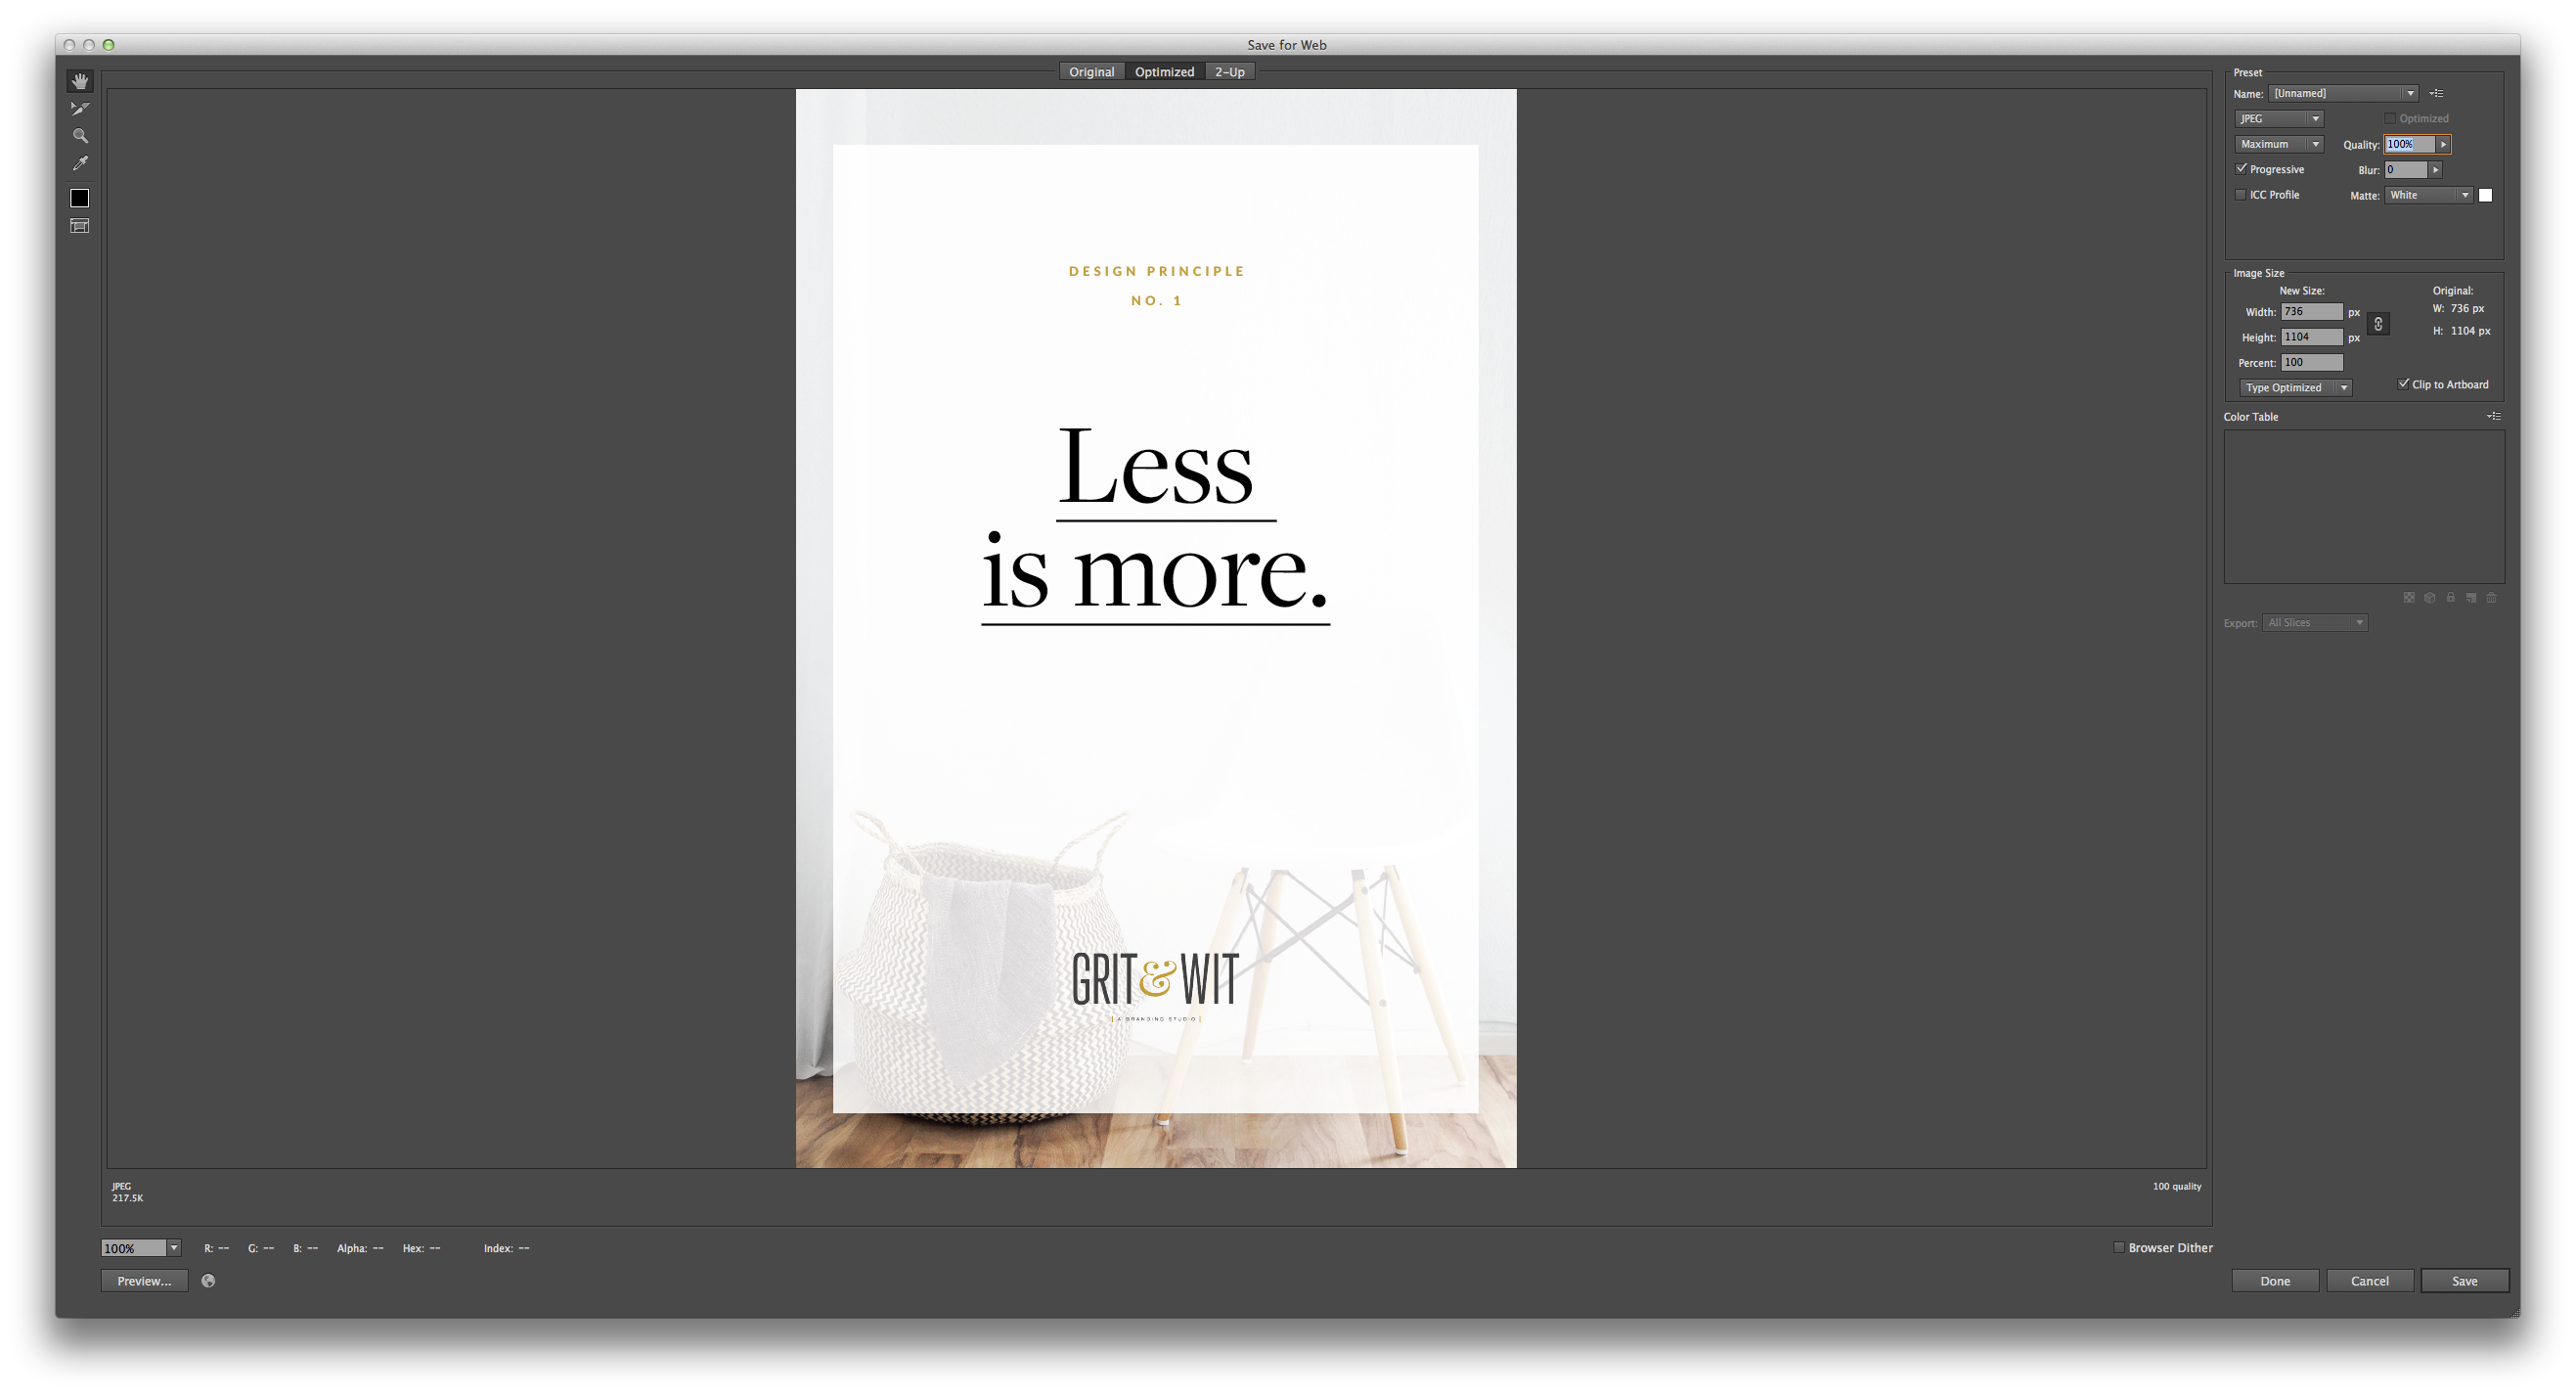
Save the image as a jpg with the Quality at 100%. Hit Save!
Step 9. Post and Pin!
Now that you have your image branded and web ready, you want need to get it out there into the world! Create a new blog post and insert the image into your post. Once you publish, visit your blog (not while logged into your site) and pin your beautiful image to a board on Pinterest. It’s important to make sure you pin DIRECTLY from your site to drive traffic back to your business.
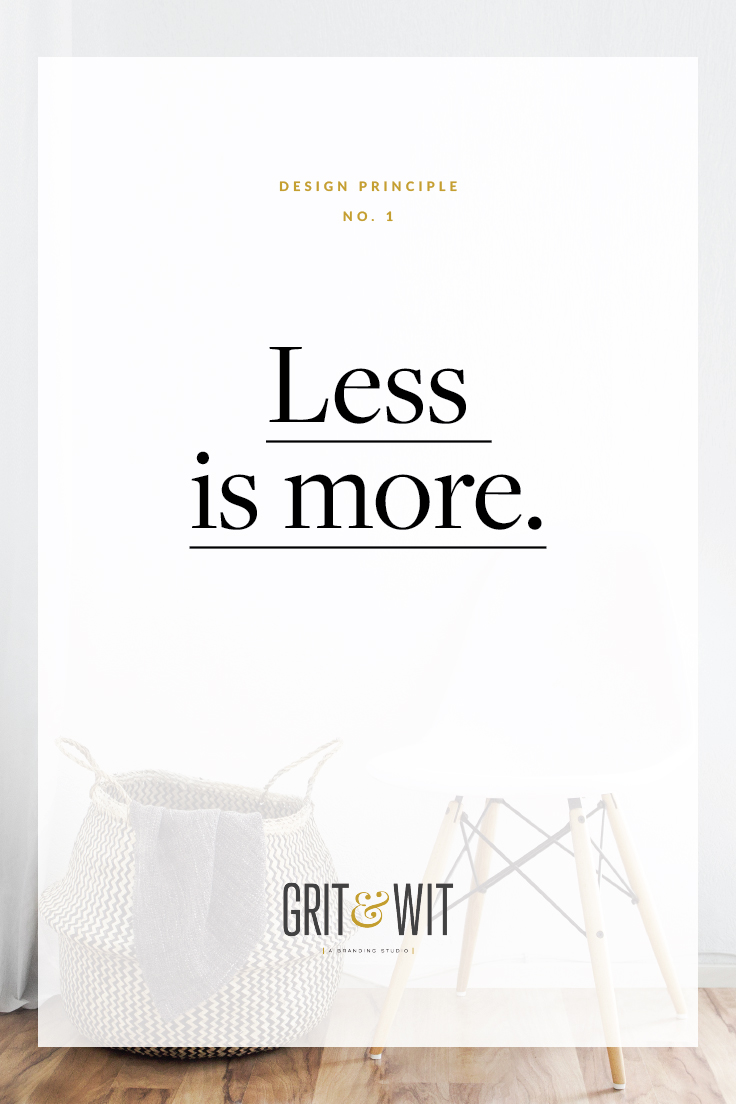
And that’s it! You can come up with a unique design for your branded graphics but make sure you adhere to the “simple is best” policy. Think powerful, not complicated. You can take the reigns with your brand design and be empowered to drive it home with your audience.
Do you want more tips on how to use your branding once you’ve wrapped up working with a designer? Let me know what you’d like to learn!


comments +