
You hear me talk all the time about our WordPress sites here at Grit & Wit, but I don’t think I have ever discussed the in’s and out’s of getting yourself set up and ready to rock your new site. One requirement I ask of my clients is to have set up their hosting prior to us working on their brand new site. After lots of questions and confusion, I realised I needed to write a tutorial for my clients and thought I would just go ahead and share it here, too. I think people hear the words hosting, server, c-Panel, domain name, etc. and want to run away (raises hand!). I totally get that. So today, I wanted to demystify the process of setting up your site with an easy step by step how-to. Ready? Let’s do it.
Self-Hosted or WordPress Hosted?
This is the number one question we get regarding hosting. If you look at most URLs you’ll see a .com at the end of the address. This is a self-hosted site. You want this. When you see “mywebsite.wordpress.com” – this is a WordPress Hosted site. Sure, it’s free but you are giving up some control of your content, as well. Signing up with a hosting service like Hostgator gives you control of everything on your site from design to content. You can also easily set up your new domain name with them, so there is no need to have yet another service added to the already complicated mix. It’s a one stop shop.
Let’s Talk Hosting.
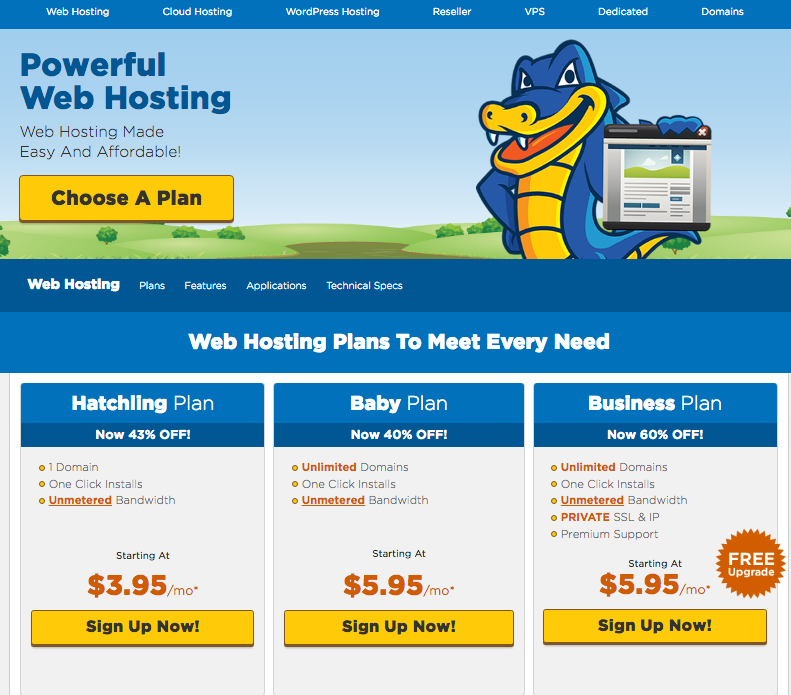
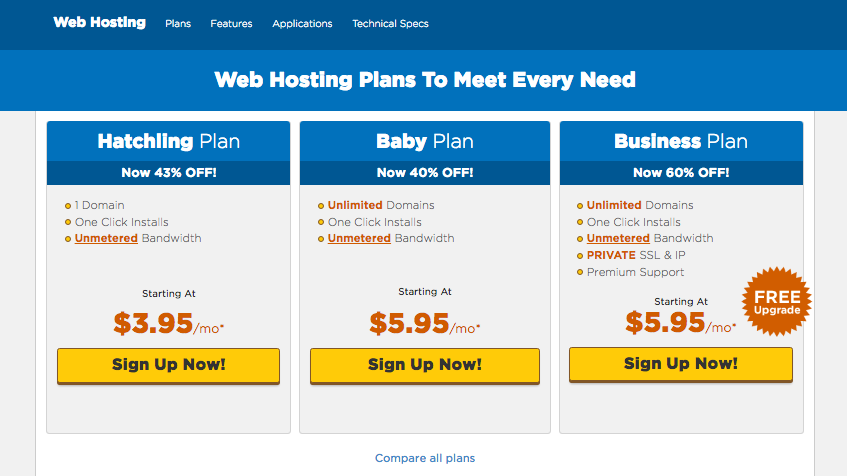
Speaking of Hostgator, let’s chat about choosing a hosting plan. We always recommend Hostgator to our clients because of its easy setup, great customer service and stability. The first step is to check out their hosting plans. We prefer the Baby Cloud plan. The Cloud Hosting is faster, more efficient and offers more scalability as your business grows. Also, it’s affordable!
Choosing Your Web Address
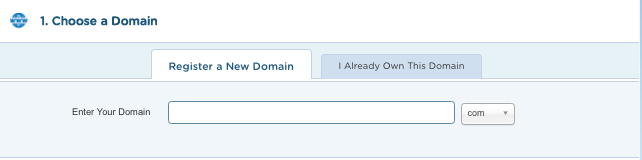
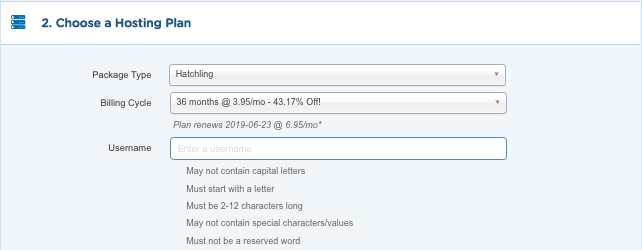
Next, choose a URL name. This is a biggie. You want to choose something simple and to the point. Think about the fact that the URL is one of the first things people see when interacting with your business. Don’t make it too long or complicated. After you choose your hosting plan, you’ll be taken to an order page where you can enter your new address and see if it’s available or set up an address you already own. I would always recommend sticking with the .com address rather than .net or .biz. Check the “domain privacy registration”. For a small fee (less than a $1/month) you can keep your registration information (your name, address, oh my) private from any looky-loos on the web.
Choose your billing plan and create your account. Woohoo! Almost legit.
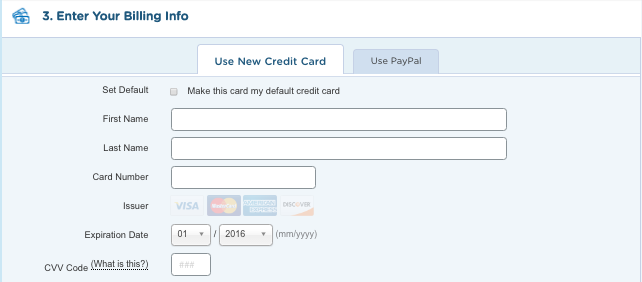
You’ll see a bunch of options for add-ons. You don’t really need any of these unless you really want them or have a specific issue you’re worried about. When in doubt, contact Hostgator for help!
Complete your payment and head on over to your email.
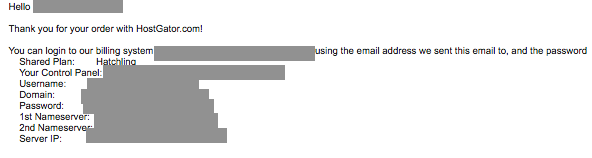
You’ll quickly receive an email confirmation. THIS IS AN IMPORTANT EMAIL. Copy it, send it to another address, write it down. It contains the unique info you need to log in to your new hosting account. It contains an important link to your cPAnel. Go ahead and click on that. You might get a pop up asking if you need help getting started. You don’t need help because this next part is so easy!
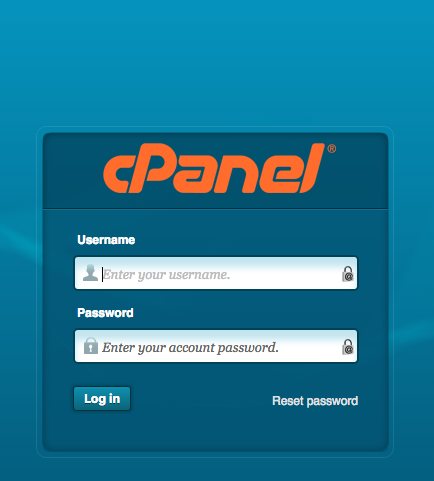
Log in to your account and behold the beauty of the backend of your website. Isn’t it beautiful?
You’ll see a ton of icons with weird names. Ignore all of them but the QuickInstall application.
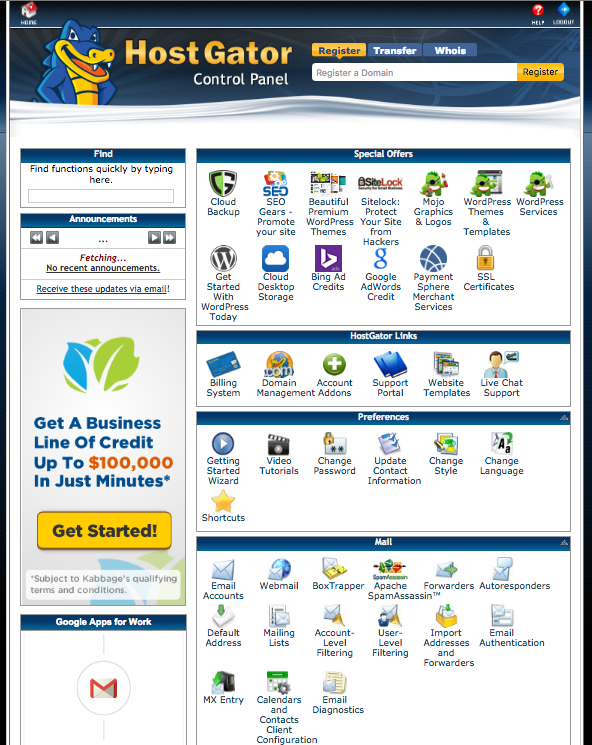
Click it and open the QuickInstall feature. This is where you will set up a fresh new WordPress install!
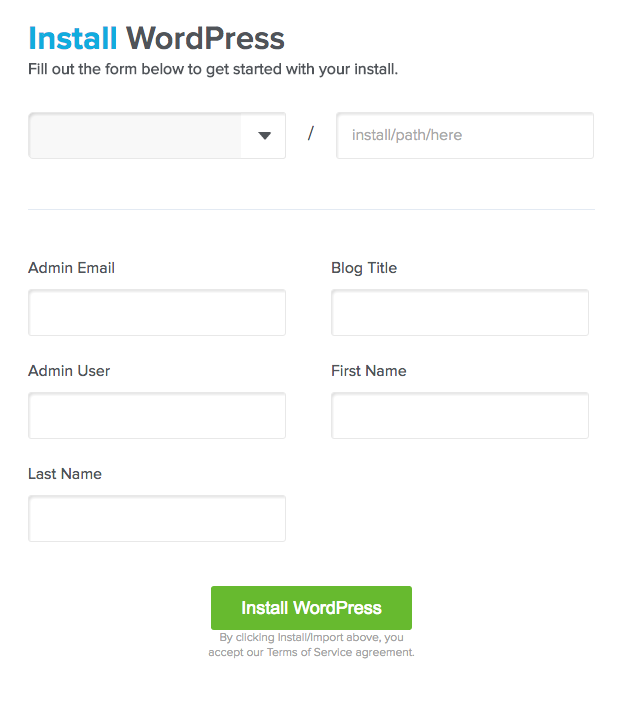
Choose WordPress on the left and Install WordPress on the right. Enter your info into the form (leave the “/____” blank) and click Install WordPress.
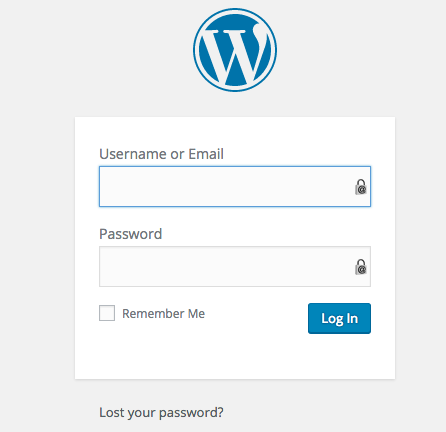
Then, you can log in to the backend of your brand new WordPress site and start blogging.
That’s it! Not too scary, right? Now you’re ready to start blogging, sharing your work and selling your products online. WordPress comes with the standard Twenty Sixteen theme but you have so many options as far as themes go. The sky is the limit! Of course, if you want something really unique and custom, just let me know. How’s that for shameless self-promotion?In less than an hour you’ve taken the first step in running your business. Congrats!
comments +